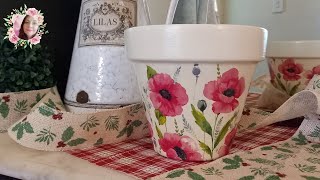
How to Decoupage a Metal Pitcher With Gold Accents

HTML-код
- Опубликовано: 4 авг 2024
- In this DIY tutorial, I show you how to transform a plain metal pitcher into a unique and beautifully decoupaged piece using paper napkins.
Follow along as I walk you through the process of decoupaging with paper napkins, and demonstrate how to fix any tears or mistakes that may occur along the way. I also attempted to add gold leaf accents to the pitcher, but it didn't quite go as planned- instead, I ended up with gold specks! Despite this, the end result is still a stunning and personalized pitcher that I'm excited to use in my home decor.
Join me in this fun and creative project and learn how to decoupage your own metal pitcher with just a few simple materials!
Materials used:
- decoupage glue: Art Potch
- chalk paint: Vintage Paint by JDL - Warm Cream
- top coat: Polyvine Decorator's Varnish
- gold leaf glue
- gold leaf
- paper napkins
0:00 Introduction
0:20 Painting the background
0:48 Preparing the paper napkin
1:27 Applying the first napkin decoupage design
4:53 Wrapping the design around the handle
10:34 How to blend designs together
14:32 Removing the excess napkin
15:13 Fixing torn napkins
16:43 Applying top coat
16:59 Applying gold leaf
20:01 The end result
---
If you liked this video, please SUBSCRIBE to my channel and hit the bell button for notifications of future projects.
You can follow my Facebook profile / mycozynest1  Хобби
Хобби